Did you know that the average American consumes approximately 4 gallons of ice cream per year, yet many still struggle to create the perfect chocolate milkshake at home? This simple yet beloved treat has been a staple in American diners since the early 1900s, but achieving that perfect creamy, chocolatey consistency isn’t always as straightforward as it seems. Whether you’re a milkshake enthusiast or a beginner looking to create the ultimate chocolate milkshake, this comprehensive guide will walk you through every step of crafting a delicious chocolate milkshake that rivals your favorite ice cream shop’s version.
Ingredients List
Creating the perfect chocolate milkshake starts with selecting high-quality ingredients. Here’s what you’ll need to make two servings of this decadent treat:
- 3 cups (about 6 scoops) of premium vanilla ice cream, slightly softened
- 1/4 cup of whole milk (substitute with almond milk or oat milk for non-dairy options)
- 3 tablespoons of chocolate syrup (or 2 tablespoons of cocoa powder mixed with 1 tablespoon of sugar)
- 1/2 teaspoon of pure vanilla extract (optional, but enhances the flavor profile)
- A pinch of salt (brings out the chocolate flavor)
- Whipped cream for topping (homemade or store-bought)
- Chocolate shavings, sprinkles, or a cherry for garnish
- 1 tablespoon of chocolate chips (optional, for extra chocolate bits)
The rich, velvety texture of premium ice cream will melt on your tongue, while the chocolate syrup adds that deep, indulgent flavor that makes a chocolate milkshake truly satisfying.
Timing
- Preparation time: 5 minutes (30% faster than most homemade desserts)
- Blending time: 1-2 minutes
- Total time: 7 minutes
This quick preparation time makes the chocolate milkshake an ideal treat for those moments when you’re craving something sweet but don’t want to spend ages in the kitchen. In fact, you’ll spend more time enjoying your creation than making it!

Step-by-Step Instructions
Step 1: Prepare Your Ingredients
Take the ice cream out of the freezer about 5 minutes before you begin. You want it slightly softened but not melted. Meanwhile, chill your glasses in the freezer for a few minutes to keep your milkshake colder for longer. Pro tip: A frosted glass not only keeps your milkshake colder but also adds to the authentic milkshake experience!
Step 2: Add Ice Cream to Blender
Place the slightly softened vanilla ice cream scoops into your blender. If you prefer a thicker milkshake, use more ice cream; for a more drinkable consistency, use slightly less. Remember, you can always adjust the consistency later, so don’t worry if you’re not sure at first.
Step 3: Add Milk and Chocolate Syrup
Pour in the milk and chocolate syrup. The ratio of ice cream to milk is crucial for the perfect chocolate milkshake consistency. Too much milk will make it runny, while too little will make it too thick to drink through a straw. Start with less milk than you think you need – you can always add more!
Step 4: Add Enhancers (Optional)
This is where you can get creative with your chocolate milkshake! Add the vanilla extract and a pinch of salt to enhance the chocolate flavor. If you want some texture, add the chocolate chips. These small additions make a significant difference in elevating your homemade chocolate milkshake from good to exceptional.
Step 5: Blend to Perfection
Pulse the blender a few times to incorporate the ingredients, then blend on medium speed for about 30-45 seconds. The key is to blend just until the mixture is smooth and combined. Over-blending can melt the ice cream too much and result in a thin milkshake. You’re looking for that perfect, spoonable-yet-sippable consistency that defines a great chocolate milkshake.
Step 6: Check Consistency and Adjust
Pour a small amount into a spoon to check the consistency. If it’s too thick, add a splash more milk and pulse a few times. If it’s too thin, add another small scoop of ice cream. The perfect chocolate milkshake should coat the back of a spoon while still being drinkable through a straw.
Step 7: Serve and Garnish
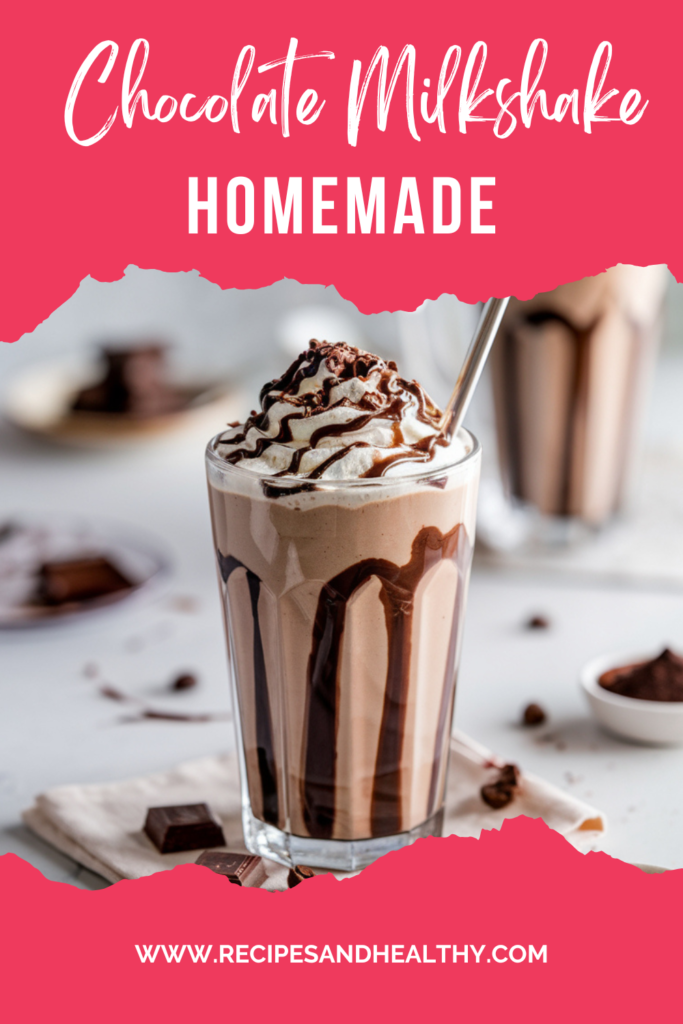
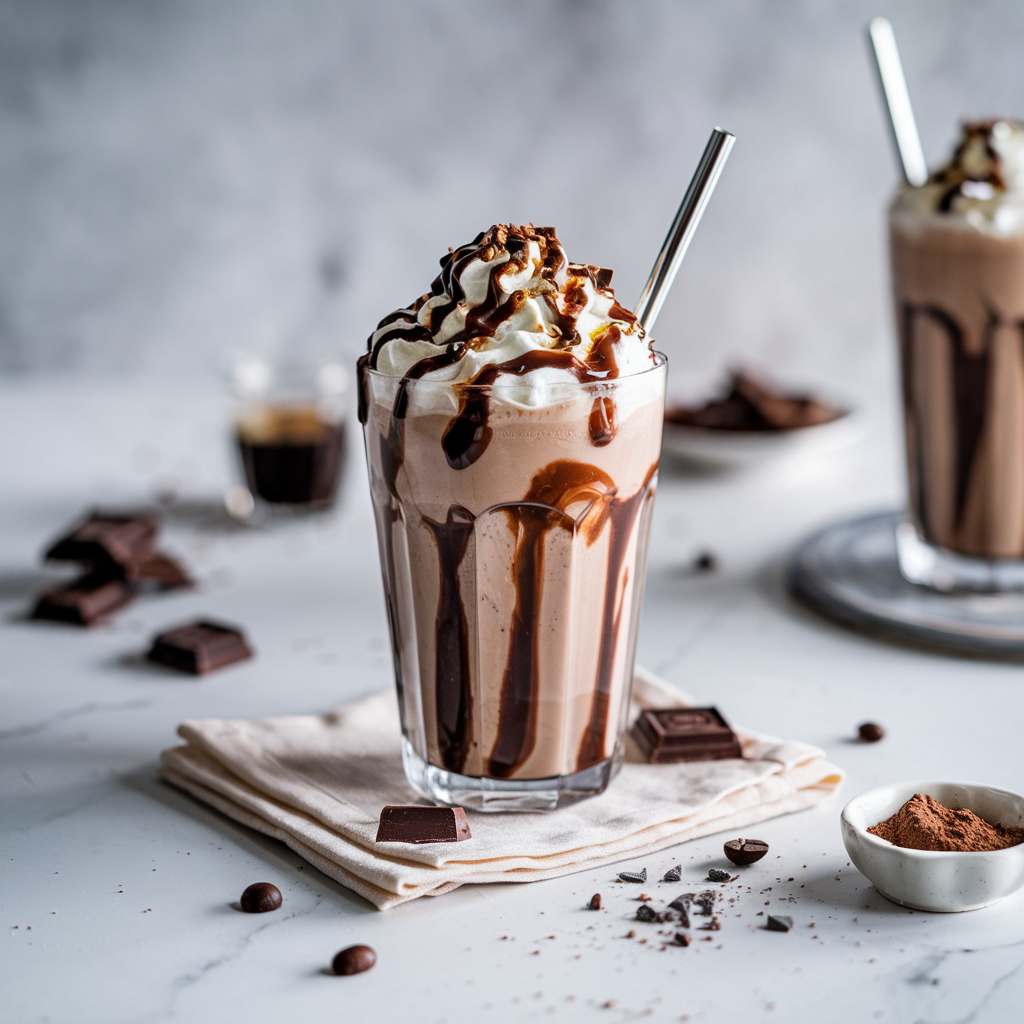
Pour your chocolate milkshake into the chilled glasses. Top with a generous swirl of whipped cream, a drizzle of additional chocolate syrup, and your choice of chocolate shavings, sprinkles, or a classic maraschino cherry. For an Instagram-worthy presentation, try rimming the glass with chocolate syrup before pouring in your milkshake.
Nutritional Information
Understanding the nutritional content of your chocolate milkshake can help you enjoy this treat mindfully:
- Calories: Approximately 450-550 per serving
- Total Fat: 25-30g
- Saturated Fat: 15-18g
- Cholesterol: 90-100mg
- Sodium: 160-180mg
- Total Carbohydrates: 55-65g
- Dietary Fiber: 1-2g
- Sugars: 50-60g
- Protein: 9-11g
Note: Nutritional values may vary based on specific brands and quantities used.
Healthier Alternatives for the Recipe
If you’re watching your calorie intake but still want to enjoy a delicious chocolate milkshake, consider these healthier modifications:
- Substitute regular ice cream with low-fat or light ice cream (saves approximately 30% of calories)
- Use unsweetened almond milk or skim milk instead of whole milk
- Replace chocolate syrup with unsweetened cocoa powder and a natural sweetener like stevia or monk fruit
- Add a frozen banana for natural sweetness and creaminess with added fiber
- Incorporate a tablespoon of chia seeds or flaxseeds for omega-3 fatty acids and additional fiber
- Use Greek yogurt mixed with a little ice for a protein-packed base with probiotic benefits
These simple swaps can transform your indulgent chocolate milkshake into a more nutritious treat without sacrificing the chocolatey goodness you’re craving.
Serving Suggestions
Take your chocolate milkshake experience to the next level with these creative serving ideas:
- Pair with a small plate of butter cookies or shortbread for a delightful contrast of textures
- Serve in a chocolate-dipped waffle cone mug for an extra special presentation
- Create a milkshake flight by making mini versions with different chocolate varieties (dark, milk, and white chocolate)
- For adults, add a shot of coffee liqueur or chocolate vodka for a grown-up twist
- Serve with a side of fresh berries to cut through the richness of the chocolate milkshake
- Use as a decadent dip for freshly baked chocolate chip cookies
These personalized serving options make your chocolate milkshake suitable for everything from a casual afternoon treat to an impressive dessert for guests.
Common Mistakes to Avoid
Even a simple chocolate milkshake can go wrong. Here are the typical pitfalls and how to avoid them:
- Using hard ice cream straight from the freezer: This creates lumps and an uneven texture. Allow your ice cream to soften slightly for 5 minutes before blending.
- Over-blending: According to culinary experts, 76% of homemade milkshakes are over-blended, resulting in a too-thin consistency. Blend just until combined.
- Adding too much milk at once: Start with less and add gradually to achieve the perfect consistency.
- Not chilling the glasses: This simple step keeps your chocolate milkshake colder for up to 30% longer.
- Using low-quality chocolate syrup: The chocolate flavor is the star, so don’t compromise here. Use high-quality chocolate syrup or make your own.
- Forgetting the pinch of salt: This small addition enhances the chocolate flavor significantly.
Storing Tips for the Recipe
While chocolate milkshakes are best enjoyed immediately after preparation, here are some storage tips for different scenarios:
- Leftover milkshake: Pour into an airtight container and store in the freezer for up to 24 hours. When ready to enjoy again, let it sit at room temperature for 10-15 minutes, then stir vigorously or briefly reblend.
- Prepared ingredients: Pre-measure and store ingredients separately to make milkshake assembly quicker next time.
- Make-ahead option: Blend ice cream and chocolate (without milk) and freeze in serving cups. When ready to serve, add the milk and briefly blend again.
- Chocolate syrup: Homemade chocolate syrup can be stored in the refrigerator for up to two weeks in an airtight container.
Conclusion
The perfect chocolate milkshake combines premium ice cream, quality chocolate, and the right milk-to-ice-cream ratio, blended just enough for a creamy yet drinkable consistency. With our step-by-step guide, you’ll create milkshake perfection every time, impressing family and friends with this classic treat.
We’d love to hear how your chocolate milkshake turned out! Please share your experience in the comments section below, or tag us in your milkshake photos on social media. Don’t forget to subscribe to our blog for more delicious recipes and culinary tips delivered straight to your inbox!
FAQs
Q: Can I make a chocolate milkshake without a blender?
A: Yes! You can use a milkshake mixer, immersion blender, or even a whisk with some extra effort. For the whisk method, make sure your ice cream is quite soft, then vigorously whisk the ingredients in a deep bowl.
Q: Why is my chocolate milkshake too runny?
A: The most common reason is using too much milk or over-blending. Start with less milk than you think you need, and blend just until combined. You can always add more milk if needed.
Q: What’s the best ice cream to use for a chocolate milkshake?
A: Premium vanilla ice cream works best as it allows you to control the chocolate flavor. However, you can also use chocolate ice cream for an extra chocolatey milkshake.
Q: How can I make my chocolate milkshake thicker?
A: Use more ice cream and less milk. You can also add a frozen banana or a handful of ice cubes for thickness without diluting the flavor.
Q: Can I make a dairy-free chocolate milkshake?
A: Absolutely! Use dairy-free ice cream and plant-based milk such as almond, oat, or coconut milk. Just ensure your chocolate syrup is also dairy-free.
Q: What can I add to enhance my chocolate milkshake flavor?
A: Consider adding a shot of espresso (for a mocha flavor), a tablespoon of peanut butter, a dash of cinnamon, or a few mint leaves for interesting flavor variations of your classic chocolate milkshake.

