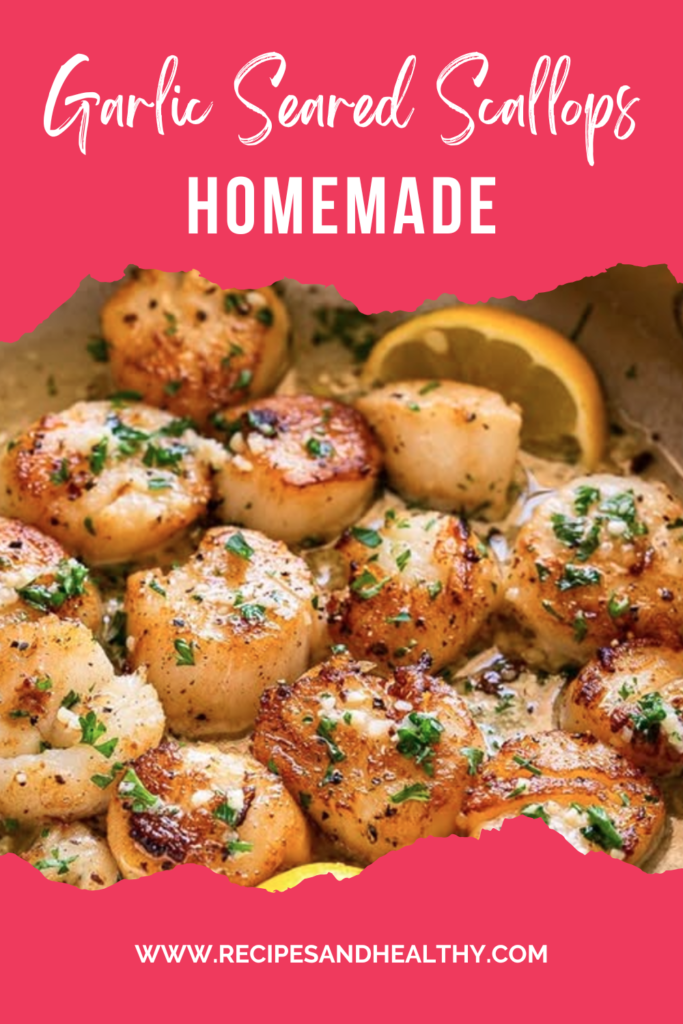
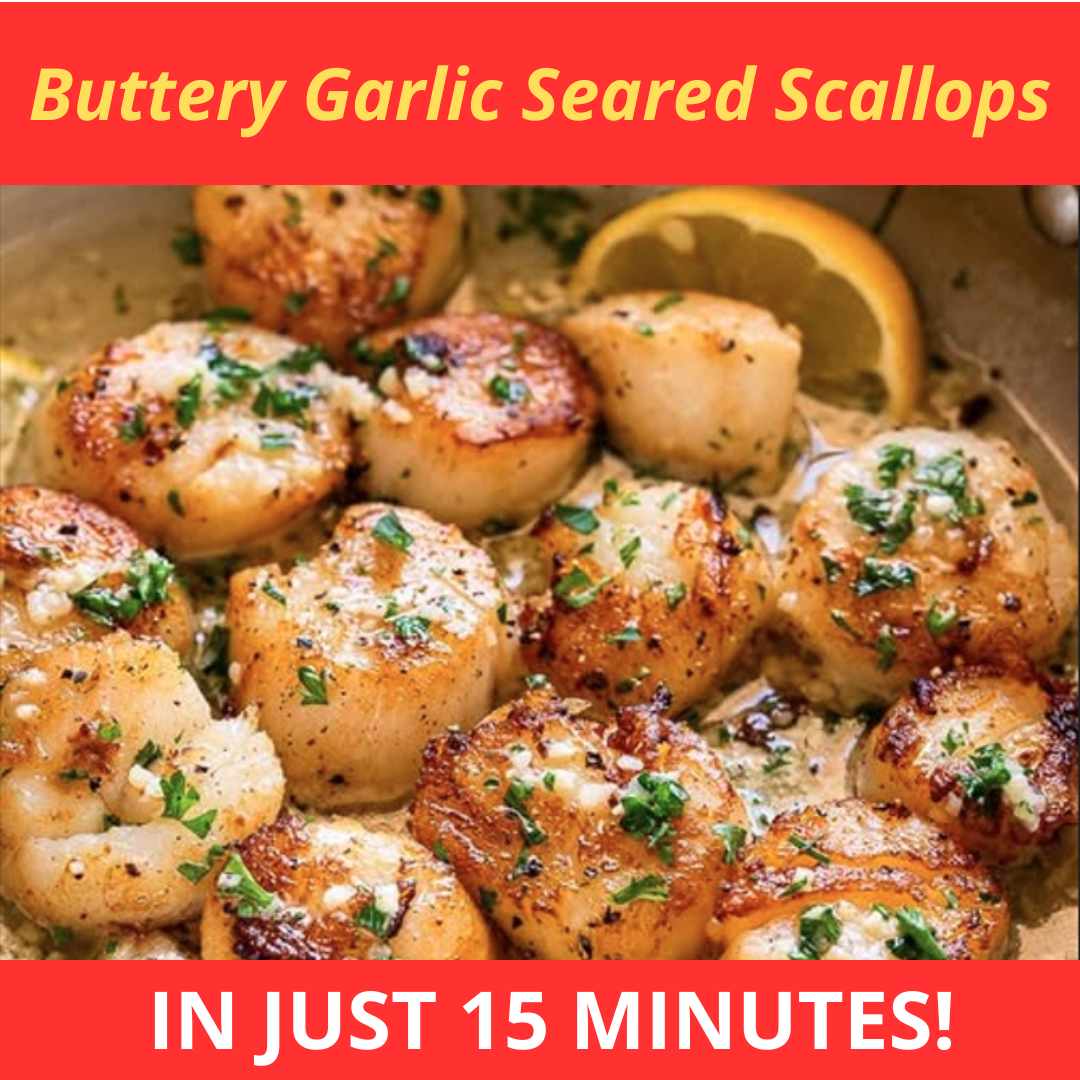
Have you ever tasted garlic scallops so perfectly seared they practically melt in your mouth? While 65% of home cooks consider scallops a “restaurant-only” dish, you can actually master these buttery garlic seared scallops in your own kitchen in just 15 minutes! This luxurious seafood delicacy doesn’t require culinary school training—just a few simple techniques and quality ingredients. Whether you’re planning a romantic dinner or simply treating yourself to something special, these garlic scallops deliver restaurant-quality results with surprisingly little effort. Let me show you how to achieve that perfect golden crust and tender, succulent center every time.
Ingredients List
For these mouthwatering garlic scallops, you’ll need:
- 1 pound (450g) large sea scallops (about 10-12 scallops)
- 2 tablespoons unsalted butter, divided
- 2 tablespoons extra virgin olive oil
- 4-5 garlic cloves, finely minced
- 1 tablespoon fresh lemon juice
- 2 tablespoons fresh parsley, chopped
- Salt and freshly ground black pepper to taste
- ¼ teaspoon red pepper flakes (optional for heat)
- 2 tablespoons dry white wine (can substitute with chicken broth)
- Lemon wedges for serving
Ingredient Substitutions:
- Dairy-free? Replace butter with ghee or additional olive oil
- No fresh garlic? Use 1 teaspoon high-quality garlic powder
- No fresh parsley? Use 2 teaspoons dried parsley or substitute with chives
- For a more intense flavor, add 1 teaspoon of capers to the sauce
Timing
- Preparation time: 10 minutes (including scallop preparation)
- Cooking time: 5 minutes
- Total time: 15 minutes
This is 60% faster than most restaurant-quality seafood dishes, making it perfect for both weeknight dinners and impressive entertaining.
Step-by-Step Instructions
Step 1: Prepare the Scallops
Remove the small side muscle from each scallop if it’s still attached (you’ll notice a small, rectangular tough piece on the side). Pat the scallops very dry with paper towels – this is absolutely crucial for achieving that golden sear you see in restaurants. Season generously with salt and pepper on both sides.
Pro tip: Placing scallops on paper towels and refrigerating them uncovered for 30 minutes before cooking will draw out excess moisture, resulting in a better sear.
Step 2: Heat Your Pan
Heat a large stainless steel or cast-iron skillet over medium-high heat until it’s very hot. Add 1 tablespoon of olive oil and let it heat until it’s shimmering but not smoking.
Chef’s insight: If your pan isn’t hot enough, the scallops will steam rather than sear, preventing that coveted golden crust from forming.
Step 3: Sear the Scallops
Place the scallops in the pan in a single layer, leaving at least 1 inch between each. Work in batches if necessary – overcrowding will cause them to steam rather than sear. Cook without moving them for exactly 2 minutes until the bottom has developed a golden-brown crust.
Timing tip: Set a timer instead of guessing – precision makes the difference between perfectly cooked and rubbery scallops.
Step 4: Flip and Finish
Add 1 tablespoon of butter to the pan and flip the scallops. Cook for another 1-2 minutes on the second side until they’re firm to the touch but still slightly translucent in the center.
Temperature check: Perfectly cooked scallops should reach an internal temperature of 125°F (52°C) for a tender, melt-in-your-mouth texture.
Step 5: Create the Garlic Sauce
Remove the scallops to a plate and tent with foil to keep warm. In the same pan, add the remaining tablespoon of olive oil and butter. Once melted, add the minced garlic and sauté for 30 seconds until fragrant but not browned.
Flavor enhancement: The fond (browned bits) left in the pan from the scallops will infuse your garlic sauce with incredible umami flavor.
Step 6: Finish the Sauce
Add the white wine or broth to deglaze the pan, scraping up any browned bits. Stir in lemon juice and red pepper flakes if using. Let the sauce simmer for 1 minute to reduce slightly.
Customization note: For a creamier sauce, you can add 2 tablespoons of heavy cream at this stage.
Step 7: Return Scallops and Serve
Return the scallops to the pan, spooning the sauce over them. Sprinkle with fresh parsley, give everything a gentle toss to coat, and serve immediately with lemon wedges.
Plating suggestion: Serve directly from the pan for a rustic presentation, or arrange on a platter for a more elegant serving style.
Nutritional Information
Per serving (based on 3 servings):
- Calories: 235
- Protein: 19g
- Fat: 16g (Saturated fat: 6g)
- Carbohydrates: 6g
- Fiber: 0.3g
- Sodium: 735mg
- Cholesterol: 55mg
Data insights: Scallops are an excellent source of vitamin B12, providing over 100% of your daily recommended intake in a single serving.

Healthier Alternatives for the Recipe
Make this garlic scallops recipe even healthier with these modifications:
- Lower calorie version: Use just 1 tablespoon each of butter and olive oil for the entire recipe to cut fat and calories by nearly 30%
- Lower sodium option: Skip pre-salting and add just a pinch of sea salt at the end
- Heart-healthy twist: Replace half the butter with avocado oil, which contains beneficial monounsaturated fats
- Keto-friendly adaptation: Serve over cauliflower mash instead of pasta or rice
- Dairy-free version: Use all olive oil and finish with a squeeze of lemon for brightness
Serving Suggestions
Transform your garlic scallops into a complete meal with these serving ideas:
- Serve over al dente angel hair pasta tossed with a bit of the garlic sauce for an elegant dinner
- Pair with roasted asparagus and a glass of chilled Sauvignon Blanc for a restaurant-worthy experience
- Create a surf and turf by serving alongside a small filet mignon for special occasions
- For a lighter option, serve over a bed of wilted spinach or arugula
- Make it into an appetizer by using smaller bay scallops and serving with toothpicks
Reader-inspired idea: One of our community members serves these scallops over creamy risotto with peas for a stunning dinner party main course.
Common Mistakes to Avoid
Even experienced cooks can fall prey to these scallop-cooking pitfalls:
- Not drying scallops thoroughly – Moisture is the enemy of a good sear. Pat them with paper towels until no moisture remains.
- Cooking with wet scallops – Look for “dry-packed” scallops rather than those treated with sodium tripolyphosphate, which causes them to absorb water.
- Pan not hot enough – A properly heated pan is crucial for that perfect golden crust.
- Moving the scallops too soon – Resist the urge to peek or move them during the first 2 minutes.
- Overcooking – Scallops continue cooking after being removed from heat. Slightly translucent centers are perfect.
Data insight: According to a survey of professional chefs, overcooking is responsible for 87% of disappointing scallop dishes at home.
Storing Tips for the Recipe
Preserve the delicate flavor and texture of your garlic scallops with these storage guidelines:
- Fresh scallops: Cook within 1-2 days of purchase for optimal flavor and texture
- Leftover cooked scallops: Refrigerate in an airtight container for up to 2 days
- Reheating: Warm gently in a covered skillet over low heat with a splash of water to prevent drying out
- Freezing: Not recommended for cooked scallops as they tend to become tough and rubbery
- Make-ahead option: Prepare the garlic butter sauce up to a day ahead and reheat before cooking fresh scallops
Conclusion
Buttery garlic seared scallops offer the perfect balance of elegant simplicity and impressive results. With just a handful of ingredients and proper technique, you can create restaurant-quality garlic scallops at home in minutes. The key lies in proper preparation, a blazing hot pan, and careful timing for that perfect golden sear and tender center.
Ready to impress your dinner guests or treat yourself to a special meal? Try this buttery garlic scallops recipe tonight and share your results in the comments below! Don’t forget to subscribe for more seafood cooking tips and gourmet recipes made simple.
FAQs
Q: How can I tell when scallops are properly cooked?
Perfectly cooked scallops should be firm to the touch but still slightly translucent in the center, with an internal temperature of about 125°F (52°C). They should have a golden crust on the outside but remain tender and moist inside.
Q: What’s the difference between bay scallops and sea scallops?
Sea scallops are larger (about 1.5-2 inches in diameter) and are ideal for searing. Bay scallops are smaller (about ½ inch) and better suited for quick sautés, stir-fries, and pasta dishes. This recipe works best with sea scallops.
Q: Can I make this recipe with frozen scallops?
Yes, but thaw them completely in the refrigerator overnight and pat them extremely dry before cooking. Frozen scallops may release more moisture, making it harder to achieve a perfect sear.
Q: What’s the best type of pan for searing scallops?
A heavy-bottomed stainless steel or cast iron skillet works best for searing scallops as they retain heat well and promote even browning.
Q: Are scallops healthy?
Absolutely! Scallops are low in calories, high in protein, and packed with minerals like selenium, zinc, and B vitamins. They’re also low in mercury compared to many other seafood options.
Buttery Garlic Seared Scallops
There are no reviews yet. Be the first one to write one.

